How to Calibrate Home Theater Audio at Home
A home theater can have premium speakers, a large display, and a powerful receiver yet still sound flat, boomy, or hard to understand. The missing step is often learning how to calibrate home theater audio for the room itself. Calibration turns a collection of components into a system that delivers clear dialogue, controlled bass, and convincing surround effects from the seats where your family actually watches.
That matters in many Florida homes, where open floor plans, tile floors, large windows, vaulted ceilings, and connected living spaces can work against great sound. You do not need a dedicated cinema room to improve the experience, but you do need to account for the room before you start adjusting settings.
Why Home Theater Audio Calibration Changes Everything
Speakers do not play into a laboratory. They play into a real space filled with walls, furniture, rugs, glass, and open pathways into other rooms. Those surfaces reflect, absorb, and sometimes exaggerate sound. Bass is especially affected, which is why a subwoofer that sounds impressive in one corner can sound overwhelming or nearly disappear a few feet away.
A proper calibration process sets speaker distances, levels, crossover points, and room correction filters so sound arrives at the main seats at the right time and volume. The goal is not to make every speaker equally loud all the time. It is to make the soundtrack behave as its creators intended. A voice should stay centered on screen, a car should move naturally across the front stage, and a low-frequency effect should have weight without swallowing the rest of the movie.
Good calibration also makes everyday viewing more enjoyable. You should not have to turn the volume up dramatically to understand dialogue, then rush for the remote when an action scene begins.
Start With Placement Before Settings
Receiver menus and calibration microphones are useful, but they cannot fully fix poor speaker placement. Start with the physical layout, because placement has the largest effect on clarity and immersion.
Place the center speaker as close to ear height as practical and aim it directly toward the main listening position. If it sits in a cabinet or below the TV, pull it to the front edge of the shelf so its sound is not trapped by surrounding surfaces. Angle it upward if necessary. The center channel carries most dialogue, so this small adjustment often makes an immediate difference.
Front left and right speakers should form a wide, balanced triangle with the primary seats. Avoid placing them deep inside cabinets or directly against side walls. For surround speakers, position matters more than trying to make them conspicuous. They should create an enveloping field rather than call attention to themselves as individual speakers.
Subwoofer placement deserves patience. Corners can add output, but they can also create thick, uneven bass. Begin near the front of the room, then listen from your main seat. If bass sounds bloated or weak, try another location. A practical method is the subwoofer crawl: place the subwoofer temporarily at the main seating position, play bass-heavy content, and walk around the room to find areas where bass sounds even and controlled. Those areas are strong candidates for the subwoofer.
Give the Room a Fighting Chance
Hard surfaces are common in modern homes and can make a system sound bright or echoey. You do not need to cover the room in acoustic panels to improve it. A large area rug, upholstered furniture, curtains, and bookshelves can reduce harsh reflections while keeping the room polished and comfortable.
The right approach depends on the space. A dedicated theater can support more acoustic treatment than a living room that also needs to feel open and inviting. The best result balances sound quality with the way your home is used.
How to Calibrate Home Theater Audio With Room Correction
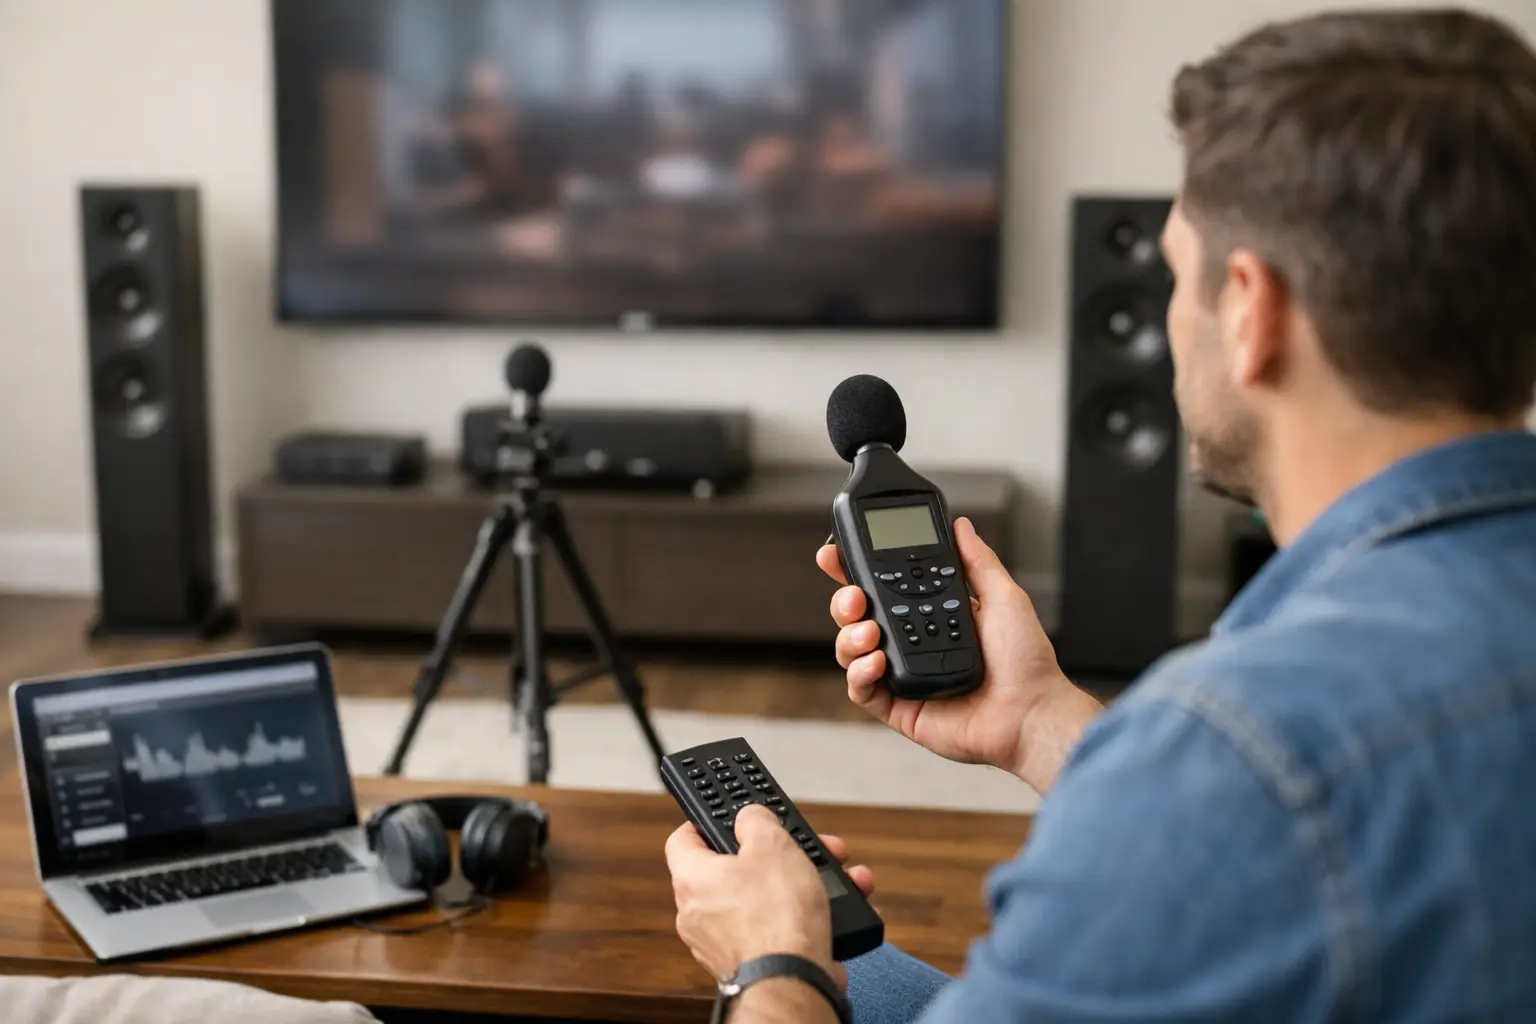
Most modern AV receivers include an automatic room-correction system and a setup microphone. This is the fastest path to a meaningful improvement, provided it is done carefully.
Before you begin, turn off ceiling fans, air conditioners if possible, nearby televisions, and other sources of noise. Close doors and windows. Keep pets and people out of the measurement area. The microphone is listening for precise test tones, and background noise can affect the results.
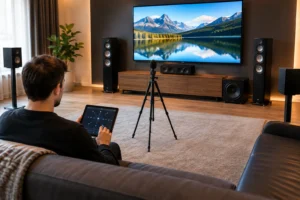
Mount the microphone on a tripod at ear level in the primary seat. Do not hold it in your hand or place it on a couch cushion. Both methods introduce reflections and movement that make the measurement less reliable. Run the receiver’s calibration routine through several microphone positions around the main seating area, following the on-screen guidance. Keep each position close to where heads will actually be, rather than measuring far across the room.
When the process finishes, review the results instead of accepting every setting automatically. Automatic calibration is excellent at creating a strong starting point, but it is not infallible.
Check Distances and Speaker Sizes
Speaker distance settings are really timing settings. A receiver may show a distance that does not perfectly match a tape-measure reading because it is accounting for electrical delay and room behavior. If the number is close and the system sounds coherent, leave it alone. If it is wildly incorrect, check wiring, speaker polarity, and microphone placement before rerunning calibration.
Many receivers label speakers as Large or Small. For systems with a subwoofer, setting most speakers to Small is typically the better choice, even if the speakers are physically large. This sends deep bass to the subwoofer, which is built and positioned to handle it more effectively.
A crossover around 80 Hz is a dependable starting point for many systems. Smaller bookshelf, satellite, or in-wall speakers may benefit from a higher crossover, such as 90 or 100 Hz. Large tower speakers may work well near 60 or 80 Hz. There is no universal number, because speaker capability, subwoofer quality, and room behavior all matter.
Confirm Levels With Real Content
After automatic calibration, play familiar material you know well. Choose a movie scene with quiet conversation, music, and action rather than judging the system from one explosion or one bass track.
Listen for three things: dialogue should be intelligible at a normal volume; bass should feel present but not detached from the front speakers; and surround effects should add atmosphere without sounding louder than the movie itself. If dialogue still feels buried, raise the center channel in small increments, usually 1 dB at a time. This is a practical adjustment, not a failure of the calibration process.
If bass is too heavy, first lower the subwoofer level slightly. Do not immediately raise the crossover or start making drastic equalizer changes. A 2 or 3 dB change can be substantial. If bass is inconsistent from seat to seat, placement or multiple subwoofers may be a better answer than additional receiver adjustments.
Avoid the Settings That Create More Problems
It is easy to overcorrect a system after hearing a new result. Resist the urge to change several settings at once. Make one adjustment, listen, and then decide whether it improved the experience.
Avoid boosting bass excessively for every type of content. It may sound exciting for a few minutes, but it can mask voices and music details over a full movie. Also be cautious with late-night listening modes and dynamic compression. They are useful when others are sleeping, but they intentionally reduce the impact and contrast that make a theater engaging.
Speaker polarity is another frequent issue. If one speaker’s positive and negative connections are reversed, the system may lose bass and sound unfocused. Check that every red terminal connects to red and every black terminal connects to black at both the receiver and speaker.
Finally, do not calibrate with furniture moved, doors open, or a temporary setup that does not reflect normal use. Your settings should represent the way the room looks and functions on movie night.
When Professional Calibration Makes Sense
DIY room correction works well for many systems. Professional help becomes especially valuable when a room has challenging acoustics, multiple subwoofers, concealed in-wall speakers, a projector, unusual seating layouts, or a larger surround format such as Dolby Atmos.
A professional installation team can design speaker locations before drywall closes, conceal wiring cleanly, tune the system at the finished seating positions, and make the controls simple for everyone in the household. That is particularly useful when the theater shares space with a living room, game room, pool area, or whole-home audio system.
Frequencies USA helps homeowners create polished entertainment spaces that look as good as they sound, from practical media-room upgrades to dedicated theater installations. The right calibration is part of that finished experience, not an afterthought.
Give your system an evening of careful setup, then live with the results for a few movies before making more changes. When dialogue stays clear, bass feels controlled, and effects fill the room without calling attention to the equipment, you will spend less time adjusting settings and more time enjoying the show.
 Previous Post
 Next Post